
Practical car tutorial
Do I Need New Brake Pads? 7 Signs to Check Before You Replace Them
Learn seven signs that your brake pads or braking system need attention, what those symptoms can mean, and when to stop driving and get help.
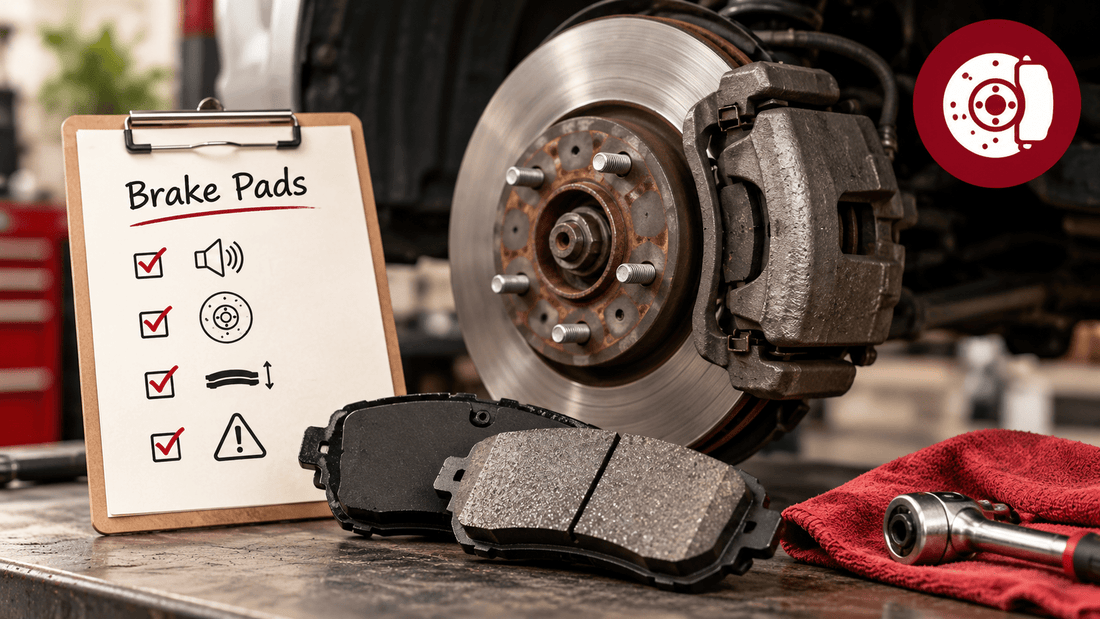
Brake pads are a normal wear item, but deciding when they actually need replacement is not always as simple as hearing one squeak. Brake noise can come from pads, rotors, hardware, dirt, moisture, or other parts of the braking system.
The goal is to recognize the warning signs early, understand what they may mean, and avoid replacing parts based on guesswork.
1. A high-pitched squeal that keeps returning
Some brake pads include a small wear indicator designed to make noise when the friction material gets low. A repeated squeal during braking can be a sign that the pads need inspection.
But squealing is not automatically proof that the pads are worn out. Moisture, surface rust, pad material, glazing, debris, or hardware can also create noise.
2. Grinding or harsh metal-on-metal noise
A grinding sound during braking deserves prompt attention. In some cases, the friction material may be severely worn and metal components may be contacting the rotor.
Continuing to drive can increase repair cost and reduce braking performance. If braking performance is reduced or the vehicle feels unsafe, stop driving and arrange professional help.
3. The brake pedal feels different
Pay attention to changes such as more travel than usual, a soft or spongy feeling, pulsation, the pedal slowly sinking, or a suddenly hard pedal.
These symptoms can involve more than brake pads. Hydraulic problems, air in the system, rotor variation, power-assist problems, leaks, or other faults may be involved.
A brake pedal that suddenly sinks, feels very soft, or is accompanied by poor braking is a safety issue. Do not keep driving to “see if it gets better.”
4. The car pulls when you brake
Pulling to one side can be related to braking imbalance, but it can also involve tires, suspension, alignment, or road conditions.
Possible brake-related causes include a sticking caliper, uneven pad wear, contamination, or a hydraulic problem.
5. Vibration or pulsation during braking
A steering wheel or brake pedal that vibrates during braking often leads people to say “the rotors are warped.” The reality can be more complicated. Rotor thickness variation, uneven deposits, hub issues, wheel torque problems, or suspension conditions can all affect brake feel.
Have the system inspected before buying pads and rotors as a package just because the pedal pulses.
6. A brake warning light appears
Some vehicles have separate warning systems for parking brake status, brake-fluid level, electronic brake faults, ABS faults, or pad wear.
Do not assume every brake-related dashboard light means “replace the pads.” Check the owner’s manual so you know what that specific symbol means on your vehicle.
7. The measured pad thickness is getting low
The most direct way to know pad condition is to inspect the friction material itself and compare it with the service specifications for your vehicle.
Do not judge only the outer pad if the inner pad is difficult to see. Uneven wear can occur, especially when caliper slides or other components are not moving correctly.
Should you replace brake pads yourself?
Brake work is a common DIY project for experienced home mechanics, but it is also a safety-critical system. Before deciding to do it yourself, make sure you understand safe lifting and support, the correct procedure for your specific brake system, whether the parking brake is electronically controlled, required torque specifications, how to inspect rotors and calipers, and how to verify proper braking before returning to normal driving.
If any of those steps are unfamiliar, learning first is cheaper than correcting a brake mistake later.
Do you always need rotors with new pads?
No universal rule says every pad replacement automatically requires new rotors. Rotor condition, thickness, surface condition, manufacturer specifications, corrosion, and runout or thickness variation all matter.
Questions to ask if a shop recommends brakes
- What is the measured pad thickness?
- Are the inner and outer pads wearing evenly?
- What is the rotor condition and measured thickness?
- Is a caliper or slide sticking?
- Are the brake hoses and fluid condition okay?
- Why are the rotors being replaced or serviced?
Those questions turn “you need brakes” into information you can actually evaluate.
Before approving brake work at a shop
Use the same approach you would for any larger repair: ask what was measured, what failed, why the work is recommended now, and what the estimate includes. The tutorial 7 Questions to Ask a Mechanic Before Approving a Car Repair can help you prepare.
Want to understand the repair before you approve it?

The DIYER Car Guide explains common car repairs and maintenance jobs in beginner-friendly language so you can understand what the job involves before deciding whether to DIY it.
If a shop is doing the work, the DIYER Mechanic Visit Pack helps you organize symptoms, estimates, questions, and repair details before you say yes.
Brake rule: noises are clues, measurements are better, and safe braking performance matters more than stretching the last bit of life from a wear item.
Turn information into action
Continue with the right level of DIYER
The DIYER Car Guide helps you understand essential jobs. DIYER PRO adds tracking for expenses, maintenance, repairs, fuel, documents, and planning.
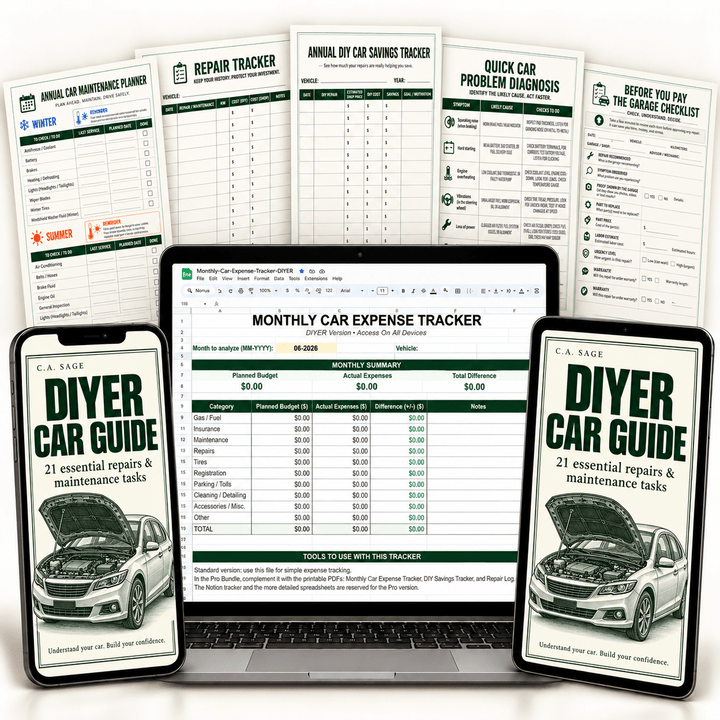
DIYER Car Guide
21 essential repairs and maintenance jobs explained so you know what to check before you begin.
$20.00 USD
See the DIYER Guide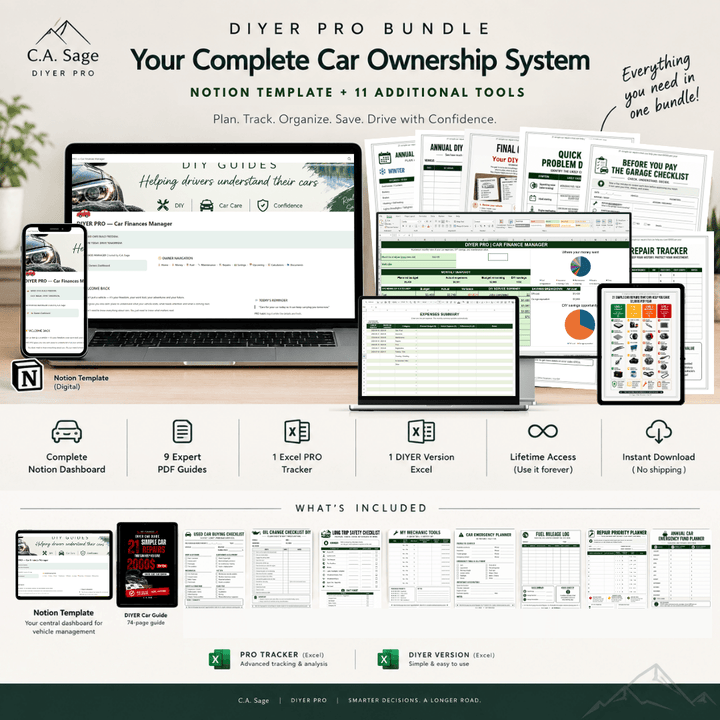
DIYER PRO
A complete system to track your car, expenses, maintenance, repairs, and upcoming ownership costs.
$48.00 USD
See DIYER PROAlready own the DIYER Car Guide? Use the DIYER PRO upgrade instead of buying the guide again.